How to Turn a Simple Image Into Stunning Animation Using After Effects & Photoshop
Introduction:
In this post, I'll guide you through the process of turning a static image into an eye-catching animation using After Effects and Photoshop. Whether you're a beginner or an experienced animator, this tutorial will help you bring your images to life with a simple yet effective technique. If you're interested in the project files or want to support the channel. Let’s dive right in!
Step 1: Preparing Your Image in Photoshop
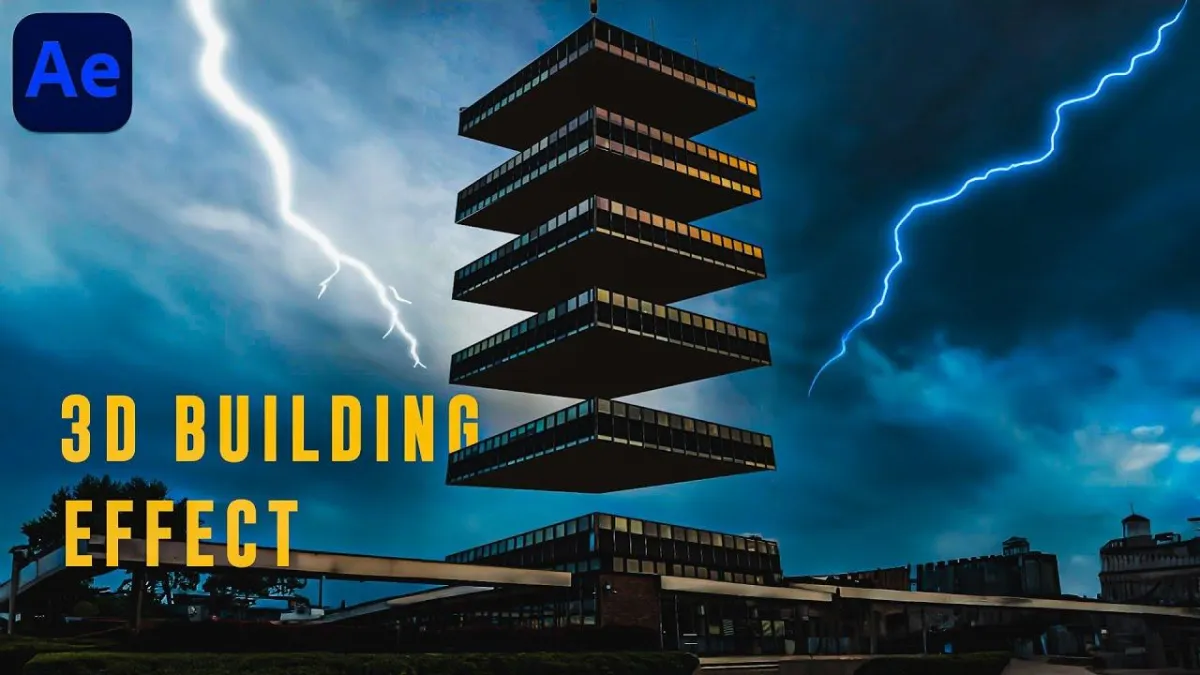
We start with a basic image I captured of a random building. The first task is to isolate the building from its background, which will allow us to animate it later. This is a crucial step because the background needs to be free of distractions to ensure that our animation stands out.
Isolating the Building from the Background:
Open the Image in Photoshop: Import your image into Photoshop.
Use the Object Selection Tool: Select the building using the Object Selection Tool. Photoshop will automatically outline the building, but we'll need to refine this selection for accuracy.
Refine the Selection: If necessary, refine the selection using the "Select and Mask" tool to clean up any areas that may be imperfect.
Layer via Copy: Once you're happy with the selection, right-click and choose "Layer via Copy" to create a separate layer for the building.
Removing the Background:
Select the Background Layer: Click on the original background layer and use the "Select > Modify > Expand" option to expand the selection by about 5 pixels.
Generate Fill: Next, go to "Edit > Fill" and choose the "Content-Aware" option. Photoshop will fill the selected area with a new background, seamlessly removing the building.
Refine the New Background: After generating the fill, pick the best result that suits your project. You may need to tweak it for a cleaner, distraction-free background.
Once you’ve separated the building and background, you can group them into a Smart Object to merge them into a single editable layer.
Step 2: Importing into After Effects for Animation
Now that the image is ready, it’s time to animate in After Effects.
Import the Photoshop File: Open After Effects and import the Photoshop file. Ensure that each element (building, background) is on its own layer.
Separate the Building Layers: We’ll need to create individual layers for each floor of the building to simulate depth during the animation. This can be done using masks.
Masking the Building Layers:
Select the Pen Tool: Use the Pen Tool in After Effects to create masks for each floor of the building. Start with the second floor and work your way up.
Duplicate and Refine: After each mask, duplicate the layer (Ctrl + D) and refine the mask to match the specific floor.
Base Layer: Don’t forget the bottom floor! Duplicate the base layer and move it to the bottom. Make sure it doesn’t have a mask so it stays intact.
Now you should have multiple layers for each floor, ready to animate.
Step 3: Animating the Building’s Movement
To give the animation a realistic and dynamic feel, we'll animate the building layers to move up and down.
Activate 3D Layers: Turn on the 3D layer option for each building layer (excluding the background).
Animate the Layers:
Select all layers and press
Pto reveal the Position property.Set keyframes at the beginning and end of the animation for each layer.
For a 5-second animation, adjust the position on the Y-axis, moving the layers up in the middle for a bouncing effect.
Smooth the Animation: Right-click on the keyframes and select "Keyframe Assistant > Easy Ease" to smooth out the movement. You can adjust the speed graph for a more customized, smooth transition.
Step 4: Adding Zoom and Camera Shake Effects
To make the animation even more dynamic, we can add a zooming effect and a subtle camera shake.
Zooming Effect:
Pre-compose the Layers: Select all layers and pre-compose them (Ctrl + Shift + C).
Animate the Scale:
In the pre-composed layer, press
Sto reveal the scale property.Set keyframes to animate the zoom. For instance, start at 100% scale, then increase to 120% at 1 second, and return to 100% at the end of the animation.
Smooth the Zoom: As with the position, use "Easy Ease" on the scale keyframes to create a smooth zoom-in and out effect.
Camera Shake:
Create an Adjustment Layer: Right-click and create a new adjustment layer. Apply the “Slider Control” effect twice and the “Transform” effect.
Apply the Wiggle Expression: Alt-click on the stopwatch next to the position property and add the
wiggleexpression, linking it to the Slider Control values for random camera shake movement.Fine-Tune the Shake: Adjust the Slider Control values (e.g.,
wiggle(3, 10)) to control the frequency and intensity of the shake.
Finally, duplicate the adjustment layer and apply it at the end of the animation for a consistent camera shake effect.
Step 5: Final Touches and Rendering
Once you’re happy with the animation, you can make final adjustments:
Motion Tile Effect: If the camera shake causes any gaps or missing frames, apply the "Motion Tile" effect to the pre-comp and increase the output width and height to 200%. This will ensure no parts of the animation are cut off.
Rendering: After making any final tweaks, you’re ready to render your animation. Adjust the output settings as necessary to ensure high quality.
Conclusion:
And that's it! With these steps, you’ve transformed a simple image into a dynamic animation using After Effects and Photoshop. Whether you're creating content for social media, a personal project, or anything in between, this technique can help you bring still images to life with impressive effects.
If you found this tutorial helpful, consider supporting the channel on Patreon, where you can access the project files and more. I’d love to hear your feedback, so feel free to leave a comment or share your own animated creations!
